
To ensure a smooth setup experience, please ensure you have the following:
- Welcome email & login details
- The latest version of the Microsoft Remote Desktop App (for MacOS or Windows)
- Smartcard Reader
Recommended Smartcard Reader Models
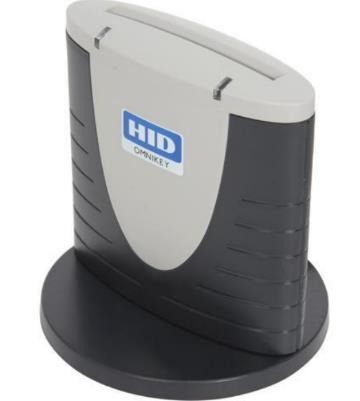
The Omnikey 3121 smartcard reader (pictured) is commonly used. The readers are manufactured in Mexico or the Philippines.
The Mexico readers have proven to be far more reliable.
Alternatively, we recommend the following card reader, available on Amazon & other retailers.
INSTALLING AND CONFIGURING THE WINDOWS DESKTOP CLIENT
GPintheCloud uses virtual desktop technology which requires some basic setup, you will need to follow these steps to install it:
- Ensure that your smartcard peripheral is plugged in to the PC (do not plug in your smartcard yet)
- Download, install and configure the Windows Desktop client: Download
- Open the Remote Desktop client, click Subscribe button
- When prompted enter your GPintheCloud username (first.lastname@gpinthecloud.co.uk) and password which will have been emailed to you separately.
- As part of this you will be asked to configure a second factor (such as text message)

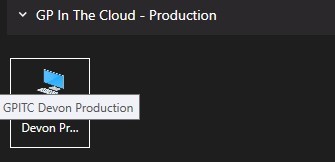
- Once sign on has occurred, you should see resources that are available to you. As the pilot has progressed improvements have been made by integrating different technology, you may see more than one desktop icon available to you, or there may be variations in the icon name.
- Launch the virtual desktop by clicking on the desktop icon (note if you see multiple desktops, ensure you logon to the desktop for the relevant area you are working in).
SETTING UP 2-FACTOR AUTHENTICATION
For added protection, GPintheCloud also uses 2 factor authentication (2fa), you will be prompted to setup this up on first login. This can be summarised as:
- Download the Microsoft authenticator app to a mobile phone from the app store.
- Click on the three dots in the top right of the app, and select ‘Add account’.
- Select ‘work or school account.’
- Scan the QR code that is shown in GPintheCloud
- If prompted, enter the one time password displayed on your phone into the field in GPintheCloud.
Once you have setup Microsoft authenticator you will only need to enter the one-time password on future logons. More guidance on setting up 2fa can be found on Microsoft Docs.
INSTALLING AND CONFIGURING THE MACOS CLIENT (Not supported but does often work)
Support for Mac users has recently been improved to support NHS Smart Cards. To enable this to work a specific version of the Microsoft Remote Desktop client must be installed on Mac Computers:
- Ensure that your smartcard peripheral is plugged in to the PC (do not plug in your smartcard yet)
- Navigate to the Remote Desktop for Mac download page: Microsoft Remote Desktop on the App Store (apple.com)
- Download and install the latest version of the Microsoft Remote Desktop Client
- Launch the application and click “Add Workspace”
- Enter https://rdweb.wvd.microsoft.com when prompted
- When prompted enter your GPintheCloud username (first.lastname@gpinthecloud.co.uk) and password which will have been emailed to you separately.
- As part of this you will be asked to configure a second factor (such as text message).
- Once sign on has occurred, you should see resources that are available to you. As the pilot has progressed improvements have been made by integrating different technology, you may see more than one desktop icon available to you.
- Launch the virtual desktop by clicking on the desktop icon (note if you see multiple desktops, ensure you logon to the desktop for the relevant area you are working in)

SETTING UP 2-FACTOR AUTHENTICATION
For added protection, GPintheCloud also uses 2 factor authentication (2fa), you will be prompted to setup this up on first login. This can be summarised as:
- Download the Microsoft authenticator app to a mobile phone from the app store.
- Click on the three dots in the top right of the app, and select ‘Add account’
- Select ‘work or school account.’
- Scan the QR code that is shown in GPintheCloud
- If prompted, enter the one time password displayed on your phone into the field in GPintheCloud.
Once you have setup Microsoft authenticator you will only need to enter the one time password on future logons. More guidance on setting up 2fa can be found on Microsoft Docs.